24/7 Labs From Sample Collection to Analysis: Demystifying the Medical Lab Process
Have you ever wondered what happens to your blood, urine, or tissue samples after you hand them over to the lab? If so, you’ve come to the right place to learn the ins and outs of the medical lab process.
Medical laboratories play a vital role in our healthcare system, providing valuable information to diagnose, treat, and prevent diseases. The journey from sample collection to analysis is a fascinating and intricate process that often remains shrouded in mystery.
In this article, we’ll take you behind the scenes to demystify the medical lab process, unraveling the steps involved and the technology at work.
Step 1: Sample Collection – The First Link in the Chain
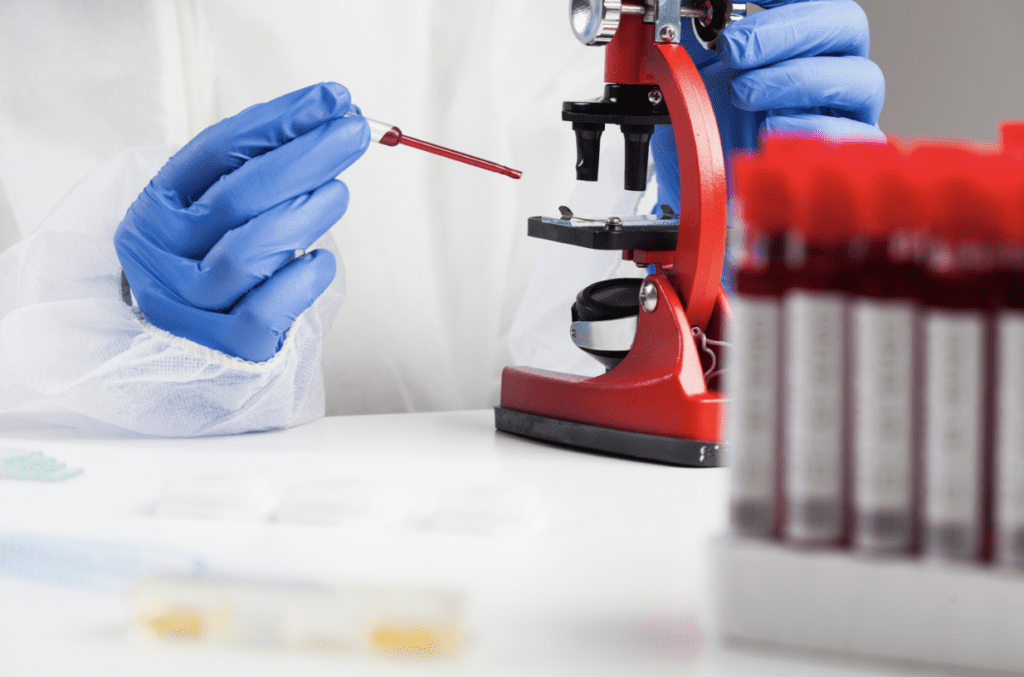
The medical lab process begins with the collection of samples. Proper collection is crucial for accurate results, whether it’s a vial of blood, a swab from your throat, or a piece of tissue. These samples hold valuable information that can help healthcare professionals determine the root cause of your symptoms and devise the most appropriate treatment plan.
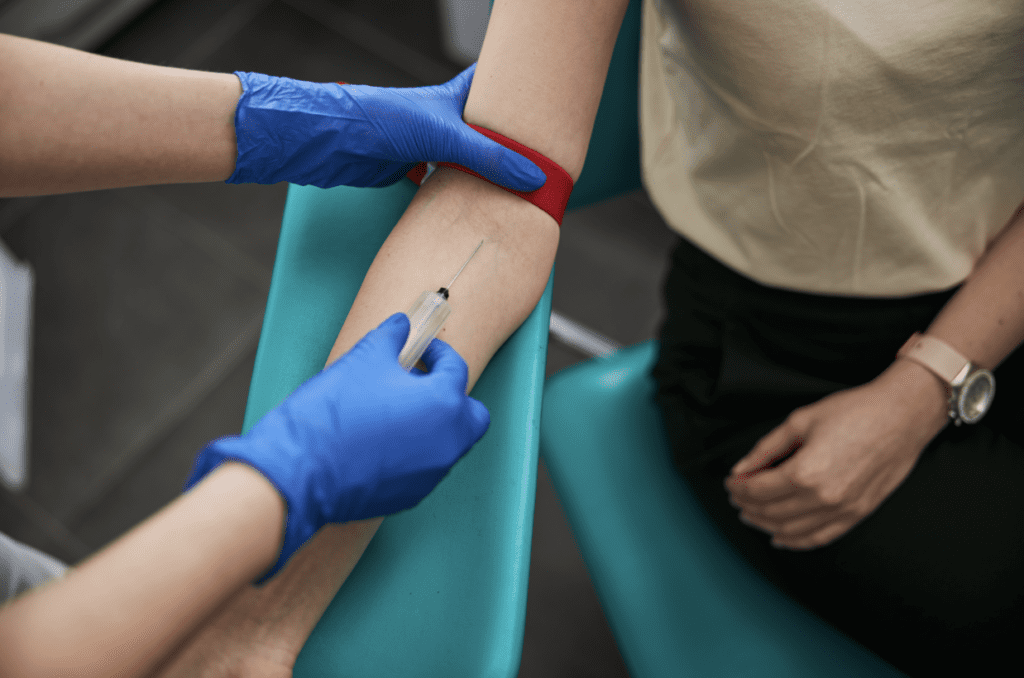
Skilled healthcare professionals, such as phlebotomists or medical technologists, are trained to collect samples precisely, ensuring the specimen’s integrity. They follow strict protocols and use sterile equipment to minimize the risk of contamination.
Now, you might be wondering how this collection process happens. Well, it depends on the type of sample needed. Blood samples, for instance, are usually drawn through a small needle inserted into one of your veins. Don’t worry; it’s a quick and relatively painless procedure. And if you’re squeamish about needles, you can always look away or distract yourself by chatting with the friendly lab technician.
On the other hand, urine samples typically require you to fill a sterile container with your “liquid gold.” Just make sure to follow any instructions given to you, like the time of day to collect the sample or whether you need to provide a midstream catch. Oh, and don’t forget to wash your hands before and after. Hygiene first, my friend!
For some tests, you might need to provide a tissue sample. This usually involves a biopsy or minor procedure where a skilled healthcare professional carefully removes a tiny piece of tissue from the affected area. It might sound uncomfortable but rest assured, you’ll be given proper anesthetics to keep you comfortable throughout the process.
Step 2: Specimen Transport – The Journey Begins
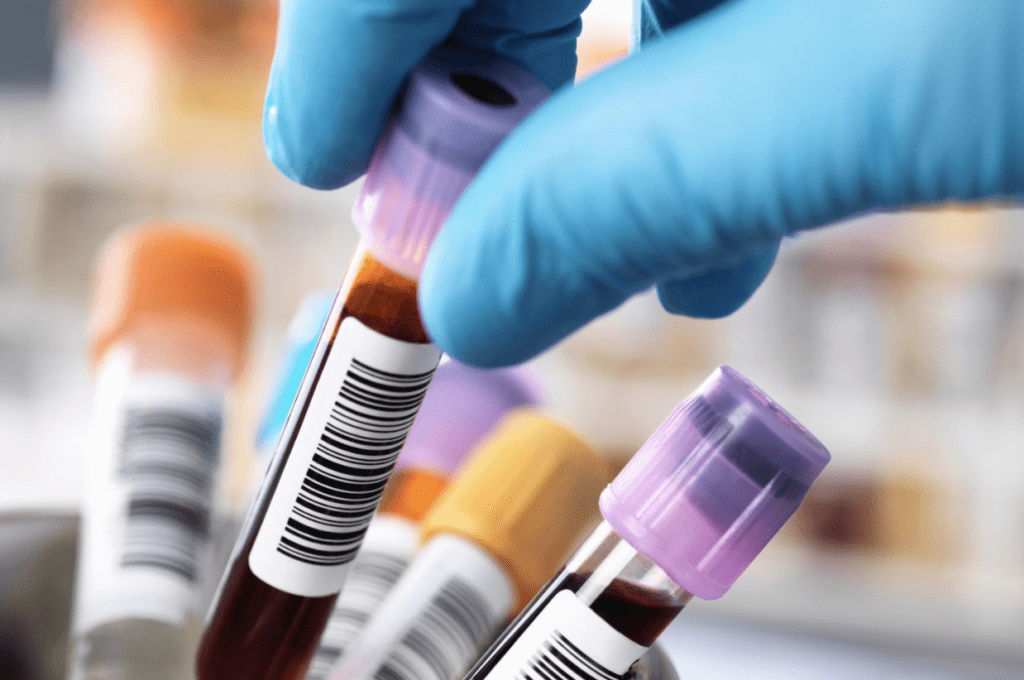
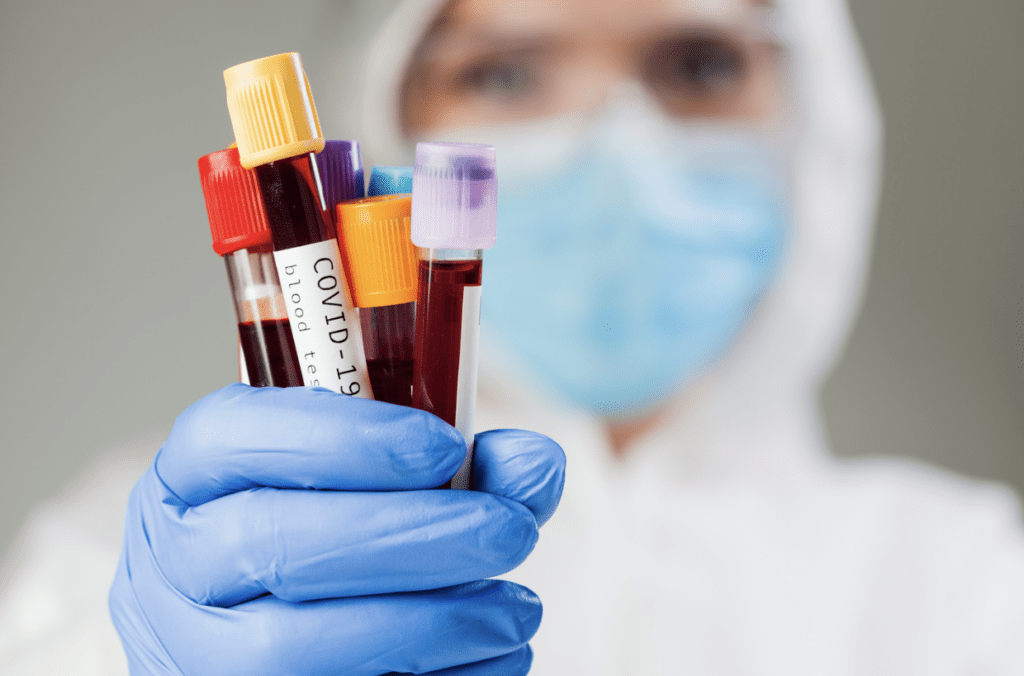
The critical part of this journey is ensuring that the samples remain tip-top during transportation to the lab. After all, the last thing we want is for your samples to get damaged or contaminated, right? That’s why they are carefully packaged and labeled to maintain their integrity. Think of it as a “handle with care” package for your precious cargo.
Once the samples are collected, they journey to the laboratory. Different transport methods may be employed depending on the sample type and urgency. For instance, blood samples are often stored in special containers that maintain temperature stability during transit. These containers are carefully labeled, ensuring proper identification and traceability. Some samples may require refrigeration or even cryogenic storage to preserve their integrity.
Once the samples reach the lab, a team of highly skilled and dedicated laboratory professionals take over. These unsung heroes handle your samples with utmost care and precision. They follow strict protocols and use state-of-the-art equipment to conduct a variety of tests, ranging from simple blood counts to complex genetic analyses. They aim to provide accurate and reliable results to help your doctor make informed decisions about your health.
Step 3: Pre-Analytical Processing – Preparing for Analysis
Upon arrival at the lab, the samples go through pre-analytical processing. This step involves several tasks to prepare the samples for analysis. Trained laboratory technicians carefully check the labels and ensure the samples match the requisition forms. Any discrepancies are immediately addressed to avoid mix-ups. The samples are then logged into the laboratory’s information system, creating a digital record of their journey.
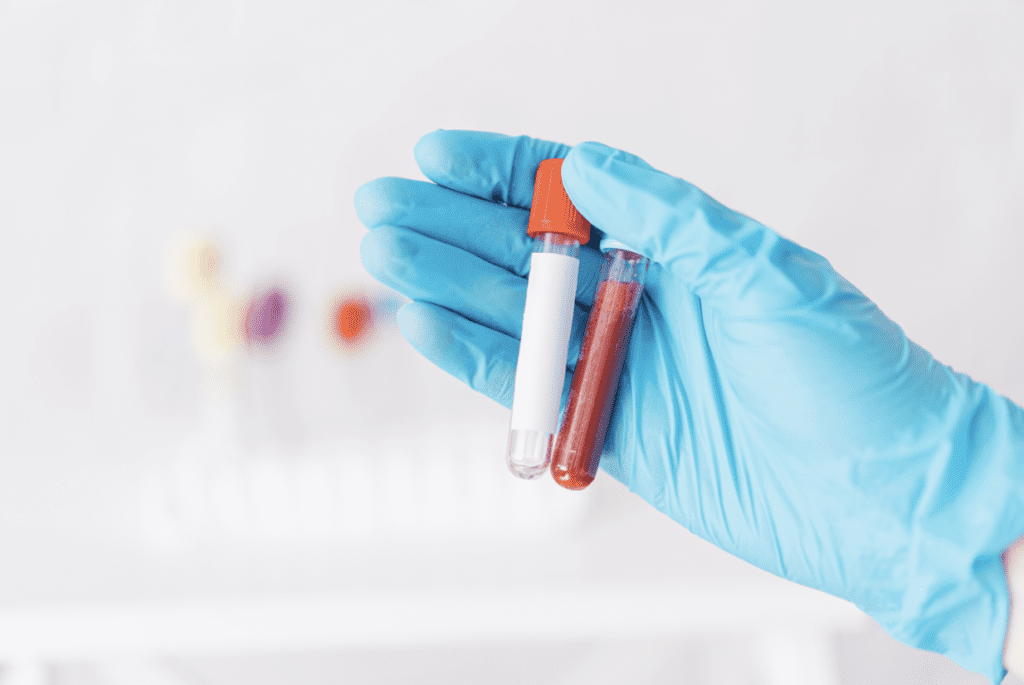
Next, the samples undergo preparation procedures such as centrifugation, where they are spun at high speeds to separate the different components. This step is crucial for tests that require specific components, such as separating serum or plasma, for further analysis.
Depending on the speed of the centrifuge and the density of the components, you can achieve different levels of separation. The heavier components, like solid particles or denser cells, will be thrown to the outer edges of the tube, forming a compact pellet. Meanwhile, the lighter substances, like liquid or smaller particles, will stay closer to the center, creating a supernatant layer.
This separation is instrumental in a variety of scientific fields. In biology, for instance, scientists use centrifugation to separate blood components or isolate proteins and DNA. In chemistry, it helps to purify chemicals and analyze mixtures. And in the food industry, it’s even used to extract oils or clarify liquids.
Step 4: Analysis – Unveiling the Secrets
With the samples prepared, it’s time for the real magic to happen – the analysis phase. This is where highly specialized laboratory equipment and techniques come into play. Advanced technologies, such as automated analyzers and molecular diagnostic platforms, enable the laboratory to perform various tests.
Different types of analyses are carried out depending on the nature of the samples and the requested tests. For example, blood samples may undergo hematological analysis to assess cell counts, while urine samples are analyzed for the presence of specific substances or abnormalities.
In addition to the automated analyzers, skilled medical laboratory professionals play a pivotal role in the analysis phase. They meticulously follow standardized protocols and interpret the results to ensure accuracy. In complex cases, they may perform additional manual tests or seek the expertise of pathologists to arrive at a conclusive diagnosis.
Step 5: Quality Control – Ensuring Reliability
To maintain high standards, medical laboratories have robust quality control processes in place. These measures are designed to verify the accuracy and precision of the results produced.
Quality control samples, known as controls, are included in each batch of tests to assess the performance of the laboratory’s equipment and procedures. These controls mimic patient samples and undergo the same analysis to ensure the results fall within acceptable ranges.
Step 6: Result Reporting – The Final Stage
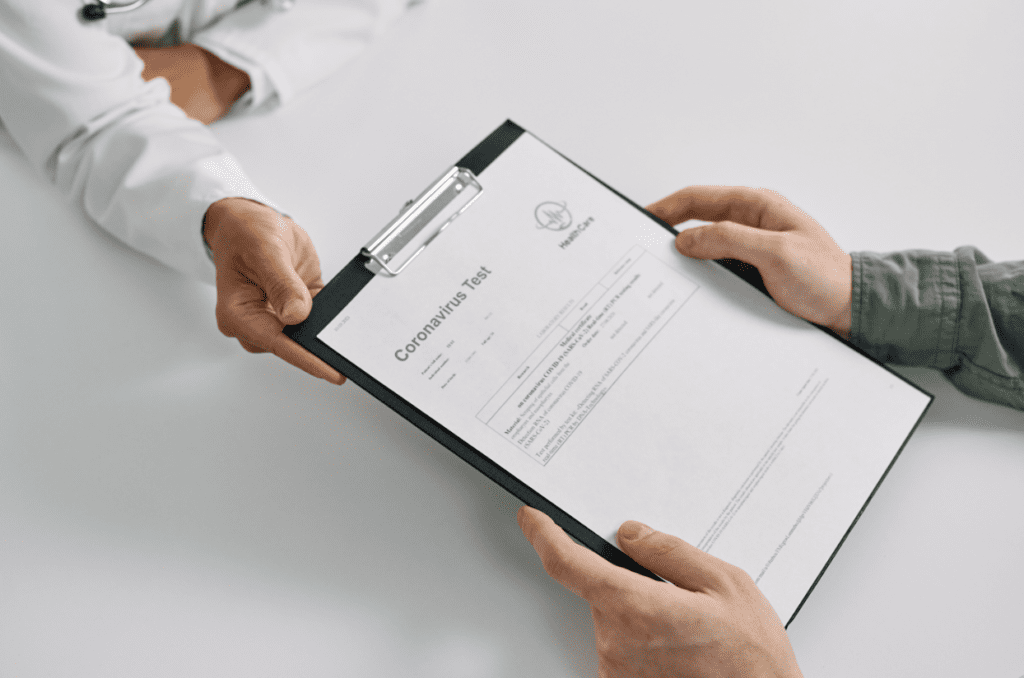
Once the analysis is complete, the results are compiled, reviewed, and validated. The laboratory generates a comprehensive report including the test results, reference ranges, and relevant comments or interpretations. This report is then sent to the healthcare provider who requested the tests, who will use them to guide diagnosis, treatment
decisions, and ongoing patient care.
Appreciating the Medical Lab Process
The medical lab process is an intricate and vital part of modern healthcare. From the moment your sample is collected to the generation of the final report, numerous steps and skilled professionals work together to provide accurate and reliable results.
By demystifying this process, we hope to foster a deeper understanding and appreciation for the incredible work happening behind the scenes in medical laboratories. Next time you hand over a sample, remember the journey it will undertake and its impact on your health and well-being.
We also hope this breakdown reassured you that your samples are safe and receive the best possible care. If you’re looking to get tested for reasons spanning everything from STDs to testosterone or pregnancy, make 24-7Labs your go-to destination.
Based in Tampa, 24-7Labs provides a wide range of testing options in their state-of-the-art laboratories. True to their name, they are available around the clock and offer appointments that fit your schedule. Their dedicated and certified staff is passionate about providing quality care.
The testing process at 24-7Labs is simple and convenient. You can schedule your test, visit the testing location of your choice, and get tested within 15 minutes of arrival. Most test results are available within 24-48 hours. If you want to test in the privacy of your home, 24-7Labs also offers a range of at-home test kits.